Remember that the chair in my pictures is not the same chair manufactured during the war. My chair is a postwar chair based on the same design, but with different material and a waterfall seam (the original had a straight seam).
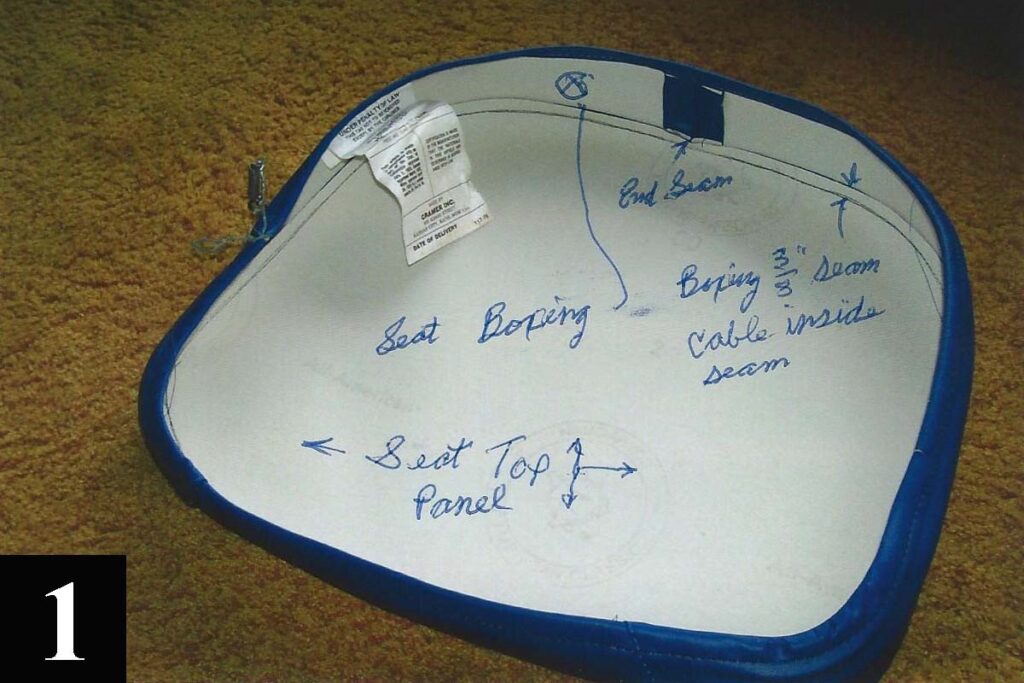
Picture 1:
This is the finished cushion upside down. The seat boxing width is 1/4 (.25) inch less than the thickness of the foam, plus the 3/8 (.375) inch over wrap seam in which the draw metal cable is stitched. Where the End Seam on the boxing is noted there is 1 inch of extra cover laid flat in opposite directions and stitched down to prevent the back seam from breaking open.
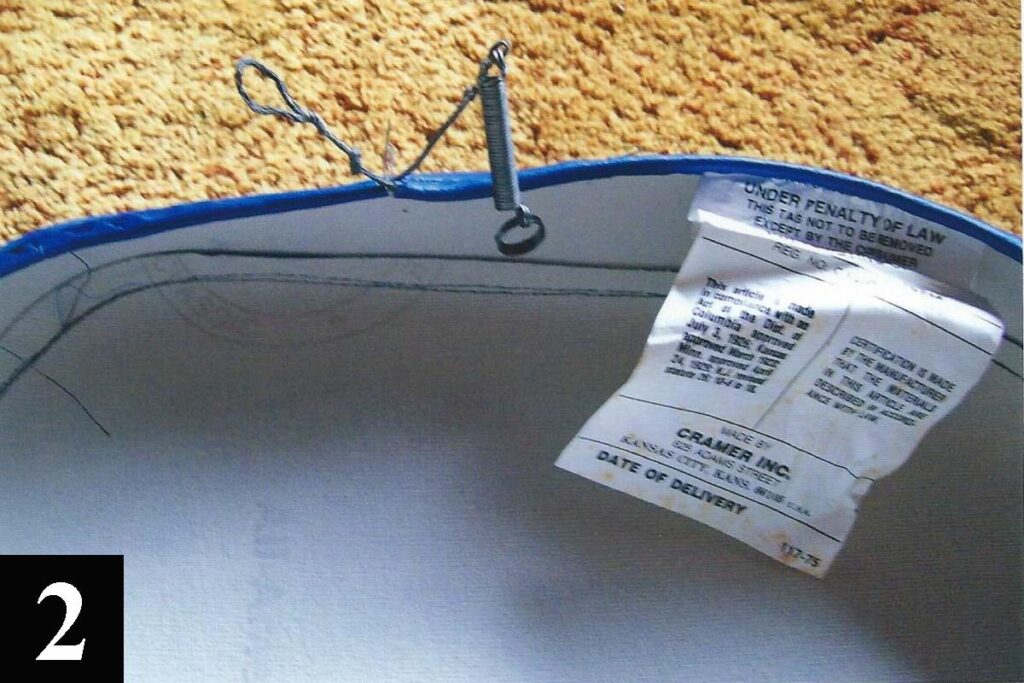
Picture 2:
This is a close-up of the draw metal cable ends. One end is simply a loop and the other is a loop and spring. The spring is 1 5/16 (1.3125) inches long with a diameter of 1/4 (.25). The overall length of the cable can be determined by running a piece a cable around the grooved seat plate and adding 4 1/2 (4.5) inches to allow for stretching. The cable will be stretched to two nails on the seat plate on one side 6 inches apart, each 1 inch from the outside edge. The loop and spring ends of the cable are soldered to hold when pulled.
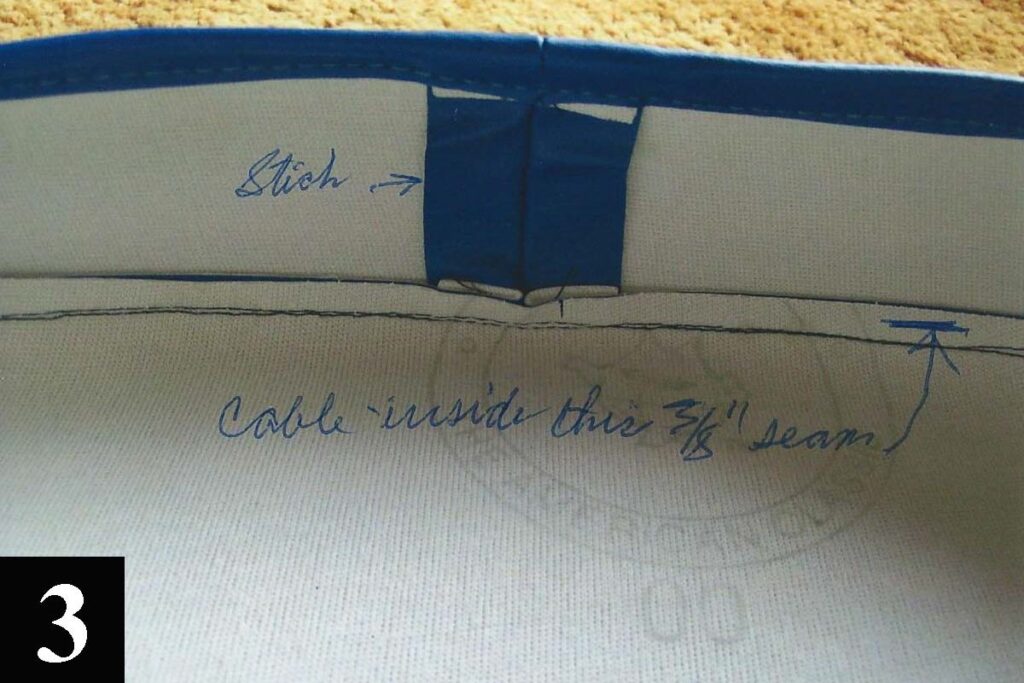
Picture 3:
This is a close-up of the 1 inch of extra cover that is stitched down. Be careful not to stitch the cable hidden inside the bottom 3/8 (.375) inch seam.
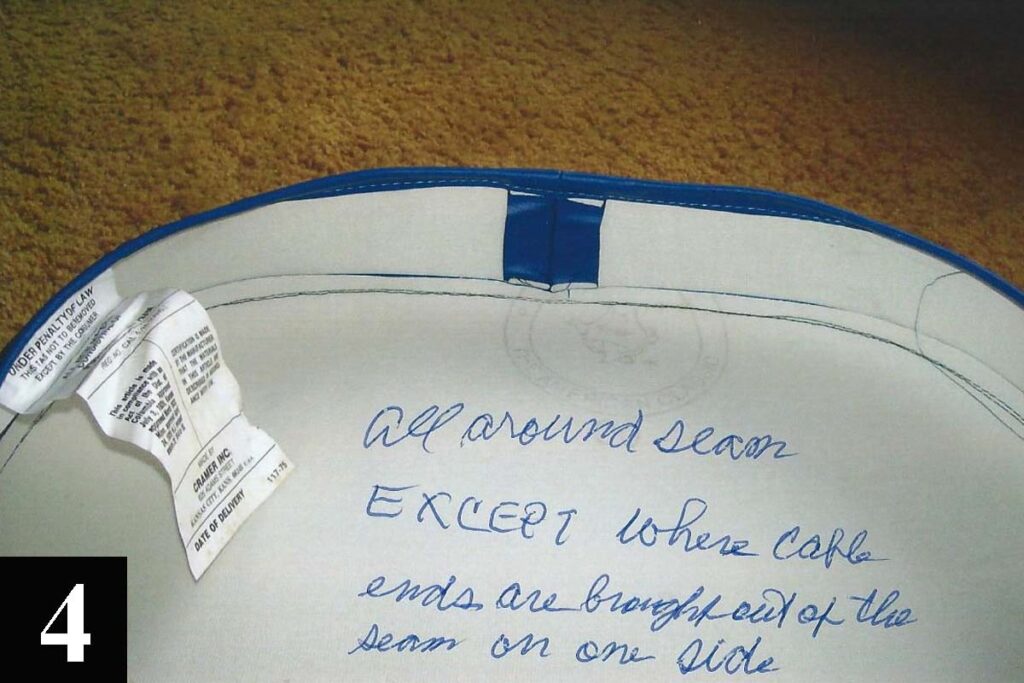
Picture 4:
This is a larger view of the area viewed in Picture 3.
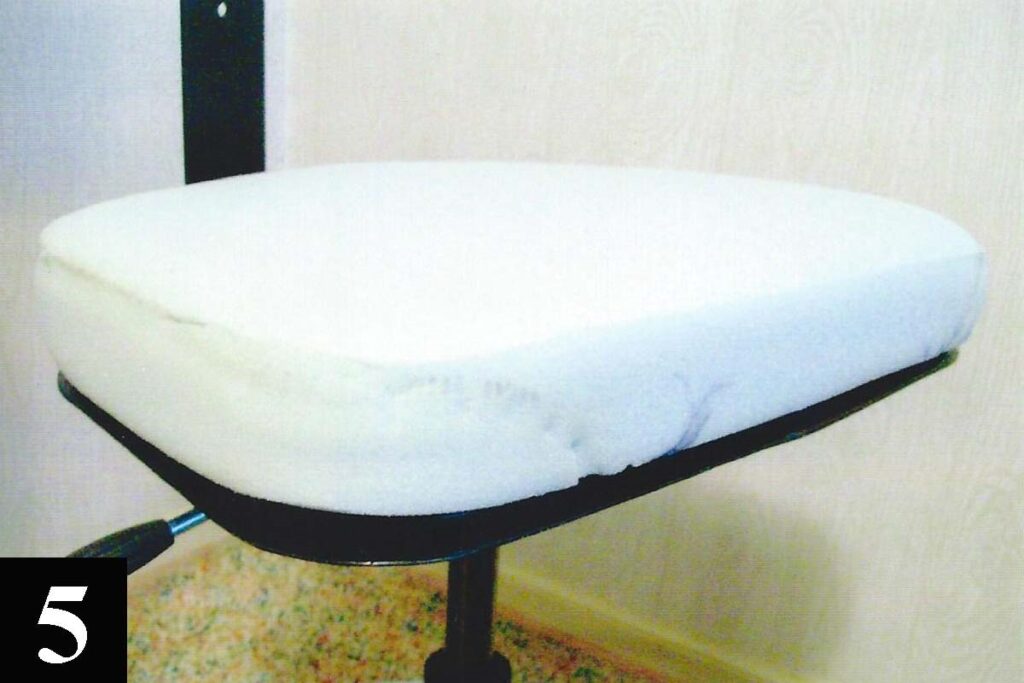
Picture 5:
This is the foam. It is 2 1/4 (2.25) inches thick.
Note: The wartime cushion example we have was filled not with foam, but with kapok and a bottom layer of animal hair.
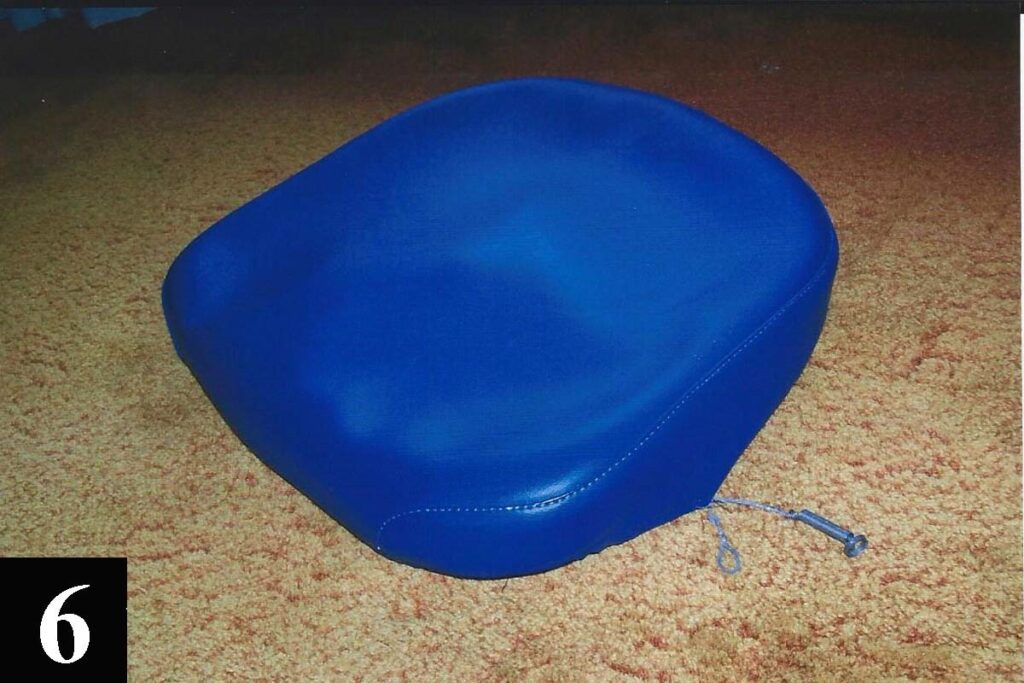
Picture 6:
This is a view of the finished cushion with the cable ends visible. Remember that original cushions did not have a waterfall seam but a strait seam
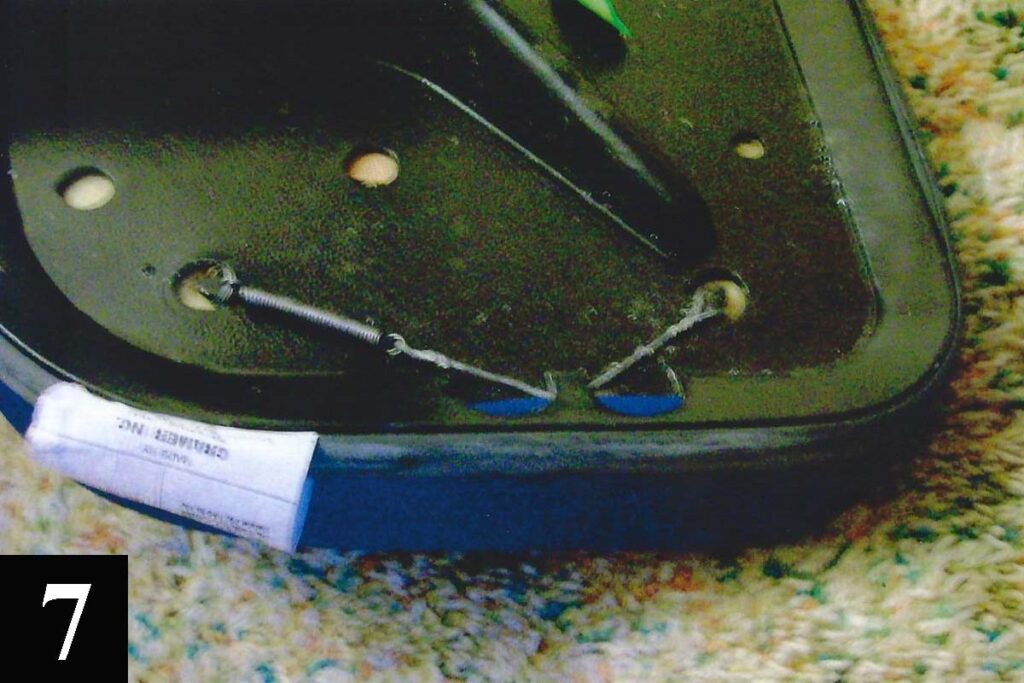
Picture 7:
This shows how the cushion attaches to the seat plate. This is a postwar metal plate, as the originals used “hog-nose” nails to hold the cable ends in place.
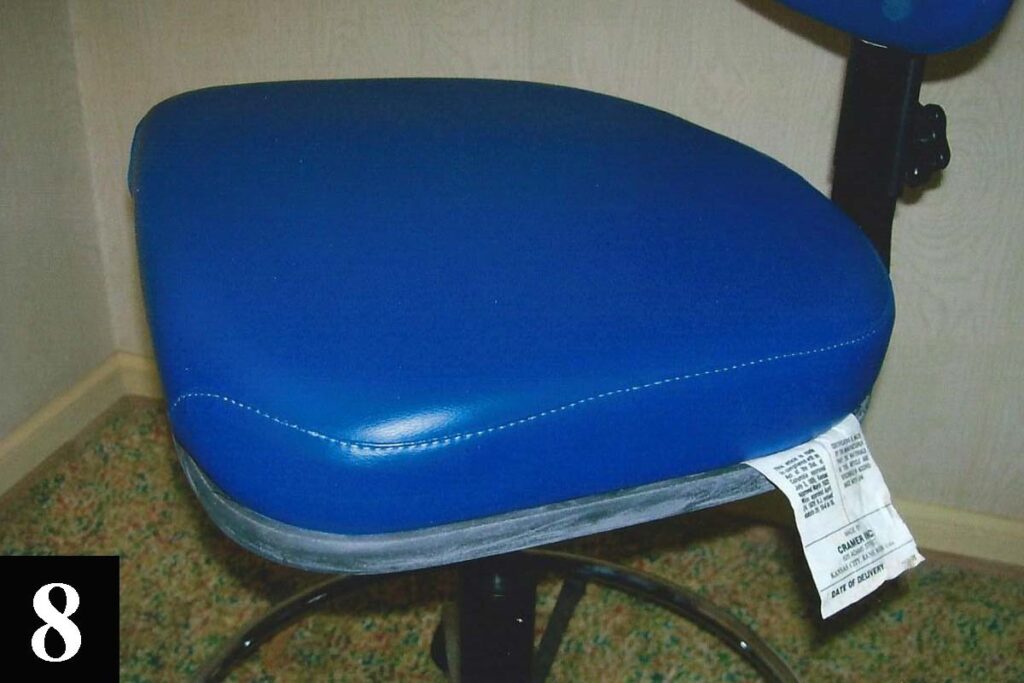
Picture 8:
This is the installed cushion. Remember that original cushions did not have a waterfall seam but a strait seam.
